Denim jeans are a staple in most people’s wardrobes. They are durable, versatile, and stylish. However, wear and tear can occur with time, resulting in rips and holes in the cloth. But fear not, as there are various techniques you can use to repair and patch your ripped denim jeans.
In this comprehensive guide, we will explore different methods and step-by-step instructions to help you mend your favourite pair of jeans.
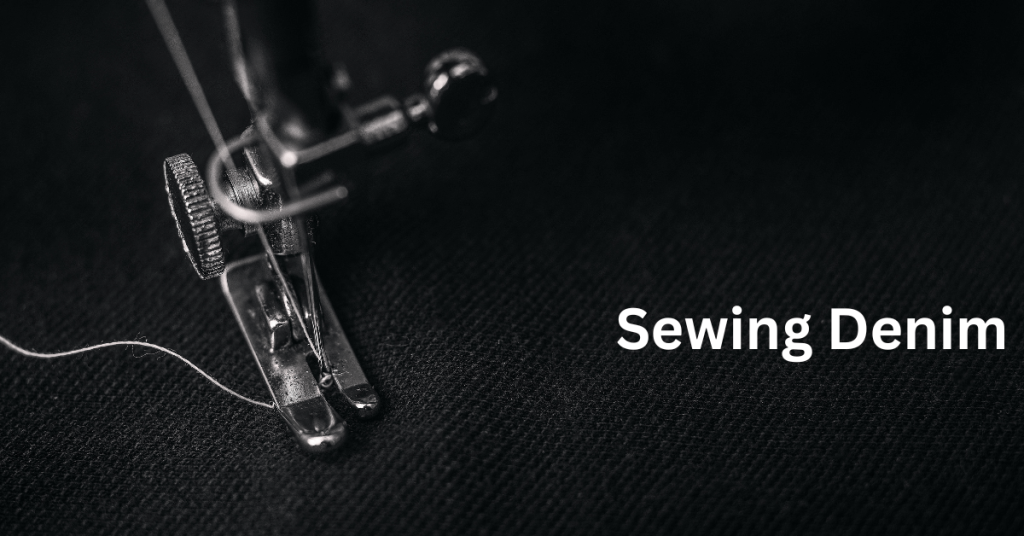
Patching From Under and Machine Sewing
One of the most effective methods for repairing ripped jeans is patching from under and machine sewing. This technique ensures a secure and almost invisible repair.
Step 1: Prepare the Patch
Start by finding a woven fabric that matches the weight and colour of your denim jeans. Cut out a patch that is large enough to cover the hole with some extra fabric to spare on all sides.
Step 2: Tidy Up the Hole
Turn your jeans inside out and trim any loose threads or frayed edges around the hole. This will create a clean and smooth surface for the patch.
Step 3: Attach the Patch
Place the patch face down on the hole, making sure it covers the entire damaged area. You can either baste stitch it in place using running stitches or use a fusible webbing or glue stick to adhere it temporarily.
Step 4: Machine Sewing
Turn the jeans right side out and thread your sewing machine with a thread that roughly matches the jeans’ colour. To secure the patch in place, use a straight or zig-zag stitch.
Make sure to stitch all around the patch and the joining edges, following the direction of the original fabric weave.
Step 5: Finishing Touches
Inspect the repair to ensure that the patch is securely attached and the stitches are neat. Trim any excess threads and press the repaired area with an iron to flatten the fabric.
Hand Sewing Straight Tear
If you have a straight-cut tear in your denim jeans, hand sewing is an easy and effective method to fix it.
Step 1: Prepare the Tear
Place an interfacing or fabric mending tape under the tear, securing it in place with heat. This will provide stability and prevent further tearing.
Step 2: Hand Stitching
Use thread to thread a needle that is the same color as your jeans. Use an overcast stitch to carefully sew along the torn edges, ensuring a secure and tidy repair.
Step 3: Trim Excess Fabric
After completing the stitching, trim any excess fabric from the back of the jeans, leaving a clean and seamless finish.
Attach Store Bought Patches
If you’re looking for a quick and convenient solution, store-bought patches can be a great option.
Step 1: Choose a Patch
Select a denim-coloured patch from a store that has adhesive on the back. These patches are designed specifically for repairing jeans and come in various shapes and sizes.
Step 2: Position and Iron
Place the patch on top of the hole, ensuring it overlaps the damaged area by at least 1/4 inch. Iron over the patch using the appropriate heat setting for denim fabric.
You can also use a zig-zag stitch around the edges of the patch for increased security.
Make Embroidery Stitches Over the Hole
If you want to add a decorative touch to your repaired jeans, consider using embroidery stitches to cover the hole.
Step 1: Mark the Area
Use chalk or a disappearing ink pen to mark the boundaries of the hole. This will guide your embroidery stitches.
Step 2: Start Stitching
Begin making embroidery stitches in a sequence, following the markings you made earlier. Repeat the stitches across the hole, filling it completely.
Step 3: Choose the Thread
Use a thick thread or multiple strands of embroidery thread in a colour that complements your jeans. The stitching should be visible and add a decorative element to the repaired area.
Step 4: Finish the Stitches
Continue stitching inwards, creating a textured pattern over the hole. This will not only repair the jeans but also add a unique design element.
Attach Decorative Clothing Patches
For a fun and fashionable repair, consider attaching decorative clothing patches to your jeans.
Step 1: Select a Patch
Choose a patch with bright-coloured designs or interesting patterns that you want to showcase on your jeans.
Step 2: Position and Attach
Place the patch on the desired area of your jeans and secure it in place using either an iron-on adhesive or by stitching around the edges of the patch.
Do Embroidery After Patching From the Back
For a combination of patching and embroidery, you can create unique designs by stitching over the patch from the back of the jeans.
Step 1: Patch the Hole
Attach a fabric patch to the back of the hole using one of the patching methods mentioned earlier.
Step 2: Add Embroidery Stitches
Using embroidery thread and needle, create decorative stitches over the patch, adding texture and visual interest to the repaired area.
Step 3: Experiment with Designs
Feel free to experiment with different embroidery stitches and patterns to create a personalised and artistic repair on your jeans.
Make Darning Stitches to Cover the Hole
Instead of using a patch, you can use darning stitches to weave and cover the hole in your jeans.
Step 1: Choose the Thread
Use a thread that matches the colour of your jeans, or opt for a contrasting colour for a unique look.
Step 2: Straight Stitches
Create straight stitches vertically over the hole, following the direction of the original fabric weave.
Step 3: Weave Through Stitches
Weave the thread through the stitches in an “under over under” sequence, covering the hole completely. This technique works best for straight cuts.
Patch with Decorative Fabrics
For a unique and eye-catching repair, consider using lace, net, or other decorative fabrics to patch the hole from the back.
Step 1: Choose a Fabric
Select a fabric that compliments your jeans and adds a decorative element to the repair.
Step 2: Position and Attach
Place the fabric patch on the back of the hole and secure it in place using stitching or an adhesive.
Cut Away and Attach Another Fabric
In cases where the denim is severely damaged, cutting away the portion and attaching another fabric may be necessary.
Step 1: Cut and Remove
Using a seam ripper, carefully loosen the seam stitching around the damaged area. Remove the torn fabric completely.
Step 2: Attach the New Fabric
Cut a piece of fabric that matches the size and shape of the hole. Position it over the hole and secure it in place using stitching or an adhesive. Reinforce the surrounding area to ensure a strong and durable repair.
Preventing Holes in Denim Jeans
While it’s important to know how to repair ripped jeans, preventing holes from occurring in the first place is equally essential.
Here are some tips to keep your denim jeans in excellent condition:
- Avoid wearing jeans that are too tight, as they can strain the fabric and increase the likelihood of holes.
- Follow proper laundry techniques, such as washing jeans inside out and avoiding overcrowding the washing machine.
- Reinforce areas that are prone to wear and tear, such as pockets, by adding patches or extra stitching.
- Consider using a pre-wash treatment or fabric protector to strengthen the fabric and prevent damage.
Conclusion
In conclusion, knowing how to patch and repair ripped denim jeans can save you money and prolong the life of your favourite pair. Whether through simple hand stitching or more advanced techniques like darning or patching, taking the time to mend your jeans not only allows you to maintain a well-curated wardrobe but also promotes sustainable fashion practices.
By considering these denim jean repair techniques, you can continue to enjoy your beloved denim pieces for years to come while reducing waste and making a positive impact on the environment.


