Distressed jeans are huge right now in terms of fashion. They exude a stylish, edgy attitude that can make any ensemble look better. However, purchasing damaged jeans from a store might be pricey and not always have the desired aesthetic. That’s where using a razor to damage your own pants comes in.
We’ll teach you how to use a straightforward razor to get the ideal faded effect in this step-by-step tutorial.
Tools and Materials Needed for Distressing Jeans with a Razor
Let’s make sure you have all the required tools and materials before we start the process. What you’ll need is as follows:
- A pair of jeans – Choose a pair that you’re willing to experiment on. It’s best to start with an old pair or one that you don’t mind potentially ruining.
- A razor – Opt for a single-blade razor, as it provides more control and precision.
- A cutting mat or a hard surface – This will protect your work area from any accidental cuts.
- A spray bottle filled with water – You’ll need this to dampen the jeans before distressing them.
- Sandpaper – Get a couple of different grits, such as 80 and 120, to achieve varying levels of distressing.
- Optional: bleach or fabric dye – If you want to add some colour to your distressed jeans, these can be useful.
You now possess everything you require, so let’s get started on getting the jeans ready for distressing.
Preparing the Jeans for Distressing
It’s crucial to properly prepare your jeans before you begin distressing them. To secure the best outcomes, take the following actions:
- Wash and dry your jeans – Start by giving your jeans a thorough wash and dry. This will aid in the removal of any dirt or debris that may obstruct the distressing process.
- Choose the areas to distress – Take a close look at your jeans and decide which areas you want to distress. Common areas include the knees, thighs, and pockets. Mark these areas with chalk or a washable marker for reference.
- Dampen the jeans – Using a spray bottle filled with water, lightly dampen the areas you marked for distressing. This will soften the fabric and make it easier to deal with.
The fun part is distressing your jeans with a razor now that they are prepared and ready.
Step-by-Step Guide on Distressing Jeans with a Razor
Although using a razor to distress jeans can seem difficult, it’s really pretty easy. You may get the ideal distressed look by simply following these instructions:
-
Prepare Your Workstation
Make sure your jeans are smooth and wrinkle-free before laying them flat on the area you’re working on. Your distressing will be even and accurate as a result.
-
Plan Your Distressing
Plan where you want to produce the distressed effects on your jeans before you begin distressing. Consider regions like the knees, thighs, and back pockets since they would inevitably become worn out. You can obtain a more genuine distressed look by doing this.
-
Start with the Razor
With the razor in your palm, lightly shave the fabric in the desired distressing places. To make little holes and ragged edges, use light, steady strokes. Always remember that it’s best to begin with something less unpleasant and then gradually add more if necessary.
-
Add Texture with Sandpaper
Use sandpaper to give the fabric a worn-out feel to enhance the distressed impression. Focus on the edges and seams as you sandpaper against the worn-out regions. This will make your jeans look more worn in.
-
Evaluate and Adjust
Take a step back and assess how your jeans appear overall after you’ve distressed a few spots. The following stage can be taken if you are satisfied with the level of distress. If not, keep distressing until you get the desired result.
-
Wash and Dry
It’s time to wash and dry your jeans after you’re satisfied with the distressing. The cloth will become softer and have a more authentic worn-in feel as a result. To avoid any damage when washing, be sure to adhere to the care recommendations on your jeans.
Adding Finishing Touches to the Distressed Jeans
Once you’ve successfully used a razor to distress your jeans, it’s time to add some finishing touches to improve the overall appearance. Here are some concepts to think about:
You can experiment with bleach or fabric dye to take your distressed jeans to the next level. Applying bleach or dye to the distressed areas with a sponge or brush can give them a distinctive, personalized appearance.
-
Patchwork
Don’t worry if you unintentionally overdid the distressing and made a bigger hole than you meant. By putting a patch behind the hole, you can make it into a fashionable feature. Pick a fabric that goes well with your jeans and sew it on.
-
Embroidery
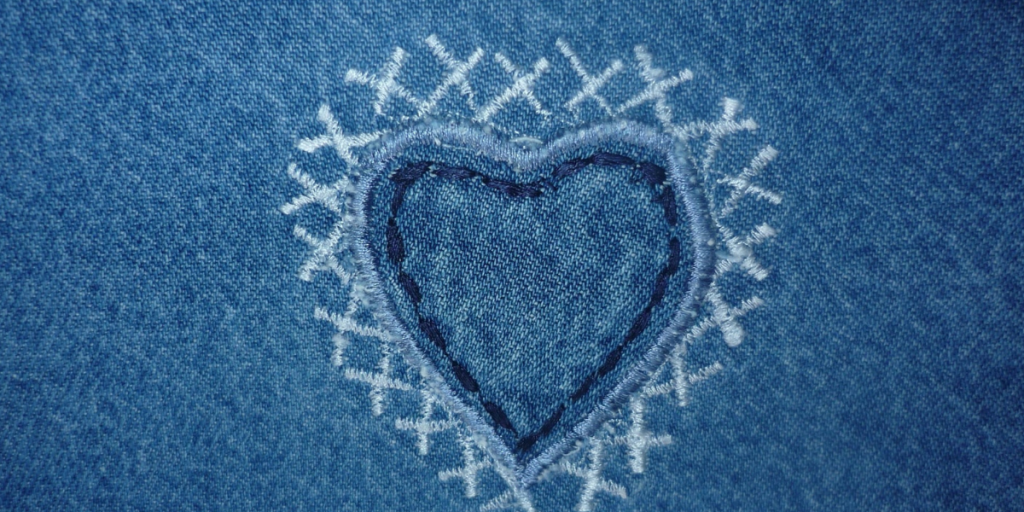
Embroidery is another method to give your damaged jeans flair. Stitch patterns or designs onto the damaged sections using vibrant threads. This will not only distinguish your jeans but also show off your originality.
Always keep in mind that you are solely responsible for any finishing touches. To genuinely make your distressed jeans unique, get inventive and try out a few different approaches.
Tips and Tricks for Achieving Different Distressing Effects
Here are some pointers and techniques to keep in mind if you want to generate various distressed effects on your jeans:
-
Vary the Pressure
You can produce varying levels of upsetting by using varied amounts of pressure when using the razor. While severe pressure will result in more obvious holes and tears, light pressure will cause subtle fraying.
-
Use Different Angles
When distressing your jeans, try out various angles. To produce a variety of distressed effects, move the razor horizontally, vertically, or diagonally. Your jeans will gain depth and dimension as a result.
-
Combine Techniques
Don’t restrict yourself to shaving with a razor. To create distinctive distressed effects, combine distressing tools like sandpaper, a cheese grater, or even a pumice stone. Your jeans will have more texture and personality the more techniques you combine.
-
Practice on Scrap Fabric
Before distressing your actual jeans, it’s a good idea to practice on a scrap of fabric if you’re new to the process. This will give you a chance to become familiar with the method and try out various distressing techniques.
Conclusion
A fun and unique technique to customize your denim and get that perfect worn-in look is to distress jeans with a razor. You can master the art of distressing jeans with a razor by following this step-by-step tutorial and adding your own special ideas.
Keep in mind to start with less disturbing and add more gradually until you get the desired look. So go ahead, pick up a razor, and let your imagination soar.


